Adding Fees/Fines Payment Options to TBS Portal using Authorize.NET
Setting up Fees and Fines payment in your TBS Portal using Authorize.Net allows your library patrons to conveniently pay online. This guide will walk you through the steps, from preparing your Authorize.Net account to configuring the TBS Portal. Don’t worry if you’re not a tech expert—just follow each section, and you’ll have your payment system up and running smoothly!
Step 1: Set Up Your Authorize.Net Account
First, you’ll need an Authorize.Net account. Only your library can set up this account—TBS cannot do this step for you as it requires sensitive information.
Create an Authorize.Net account.
Make sure your account is set to LIVE mode so you can process real payments.
Keep your API login ID and transaction key handy—you’ll need these later.
If you have not done this, please complete this article first: How to Setup Authorize.NET for easybooking fees/fines Module
Step 2: Prepare a Security Certificate
A security certificate ensures your patrons’ data is safe while making payments. You may use a wildcard certificate if your library’s website uses one.
Obtain an SSL certificate for your library’s payment portal domain (for example, tbs.librarydomain.com).
If you already have a wildcard certificate for your website, you can use it for the payment portal as well.
Step 3: Set Up an External URL and Firewall Access
Patrons will access the payment portal through a secure URL.
Decide on the external URL you want to use (e.g., https://tbs.librarydomain.com/easybooking).
Work with your IT team to make sure traffic to this URL is routed through your firewall to the TBS server on port 443 (HTTPS).
Step 4: Install the SSL Certificate in IIS
Now, you’ll need to install your SSL certificate and configure your server.
Install the SSL certificate on your TBS server using IIS (Internet Information Services).
If you need help, refer to this detailed guide: How to install certificate in IIS for TBS Software.
Bind the certificate to your chosen external URL in IIS.
Step 5: Configure TBS Portal with Authorize.net Info
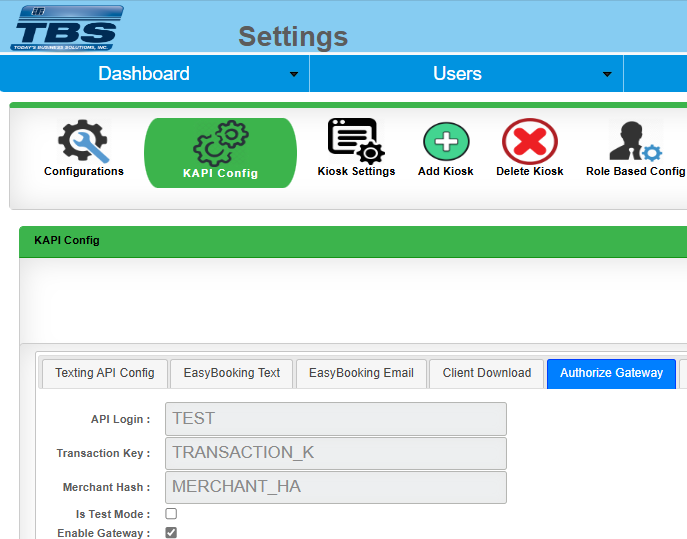
You’re almost done! Next, you’ll share your Authorize.Net API credentials so TBS can connect everything.
Send your API Login ID and Transaction Key to your TBS representative. (Do not send your Merchant Hash—this is not needed!)
TBS will configure these credentials in your portal and thoroughly test everything to ensure payments process correctly.
Once testing is complete, your Fees/Fines payment setup will be live and ready for patrons to use.
Need Help?
If you have questions along the way, don’t hesitate to reach out to your TBS support team or refer to the knowledge base links provided. Setting up online payments can seem complex, but following these steps will help ensure a secure and smooth experience for both your staff and your patrons.
Thank you for making your library even more accessible!