
How to install MyPC Cloud Client (Windows)
Ready to install the MyPC Cloud Client? You’re in the right place! This guide will walk you through every step, from creating your client in the MyPC Cloud portal to installing it on your computers. Let’s get started!
Before You Begin
There are a few important things to check before you start installing the MyPC Client:
Operating System: The MyPC Cloud Client supports Windows 10 and Windows 11 (64-bit) only.
.NET 8 Desktop Runtime: You’ll need to have the .NET 8.0 Desktop Runtime installed on each computer.
Fast Startup: Make sure Fast Startup is disabled on all MyPC devices. This step is important to ensure the client initializes and shuts down correctly. For help, see the article: How to Disable Fast Startup via Group Policy Preferences.
Confirming Computer is created in MyPC Cloud Admin Portal: Cloud Client does not auto-add itself to the system. Please follow this arctile if you have not done this. How to Add a Computer to MyPC Cloud
Once you’ve covered these basics, you’re ready to create and deploy your client!
Step 1: Create Your MyPC Client
To create a new client, you’ll need Owner or Super Admin user rights in the MyPC Cloud portal. Here’s how to do it:
Go to the Admin section:
Log in to your MyPC Cloud Admin portal.
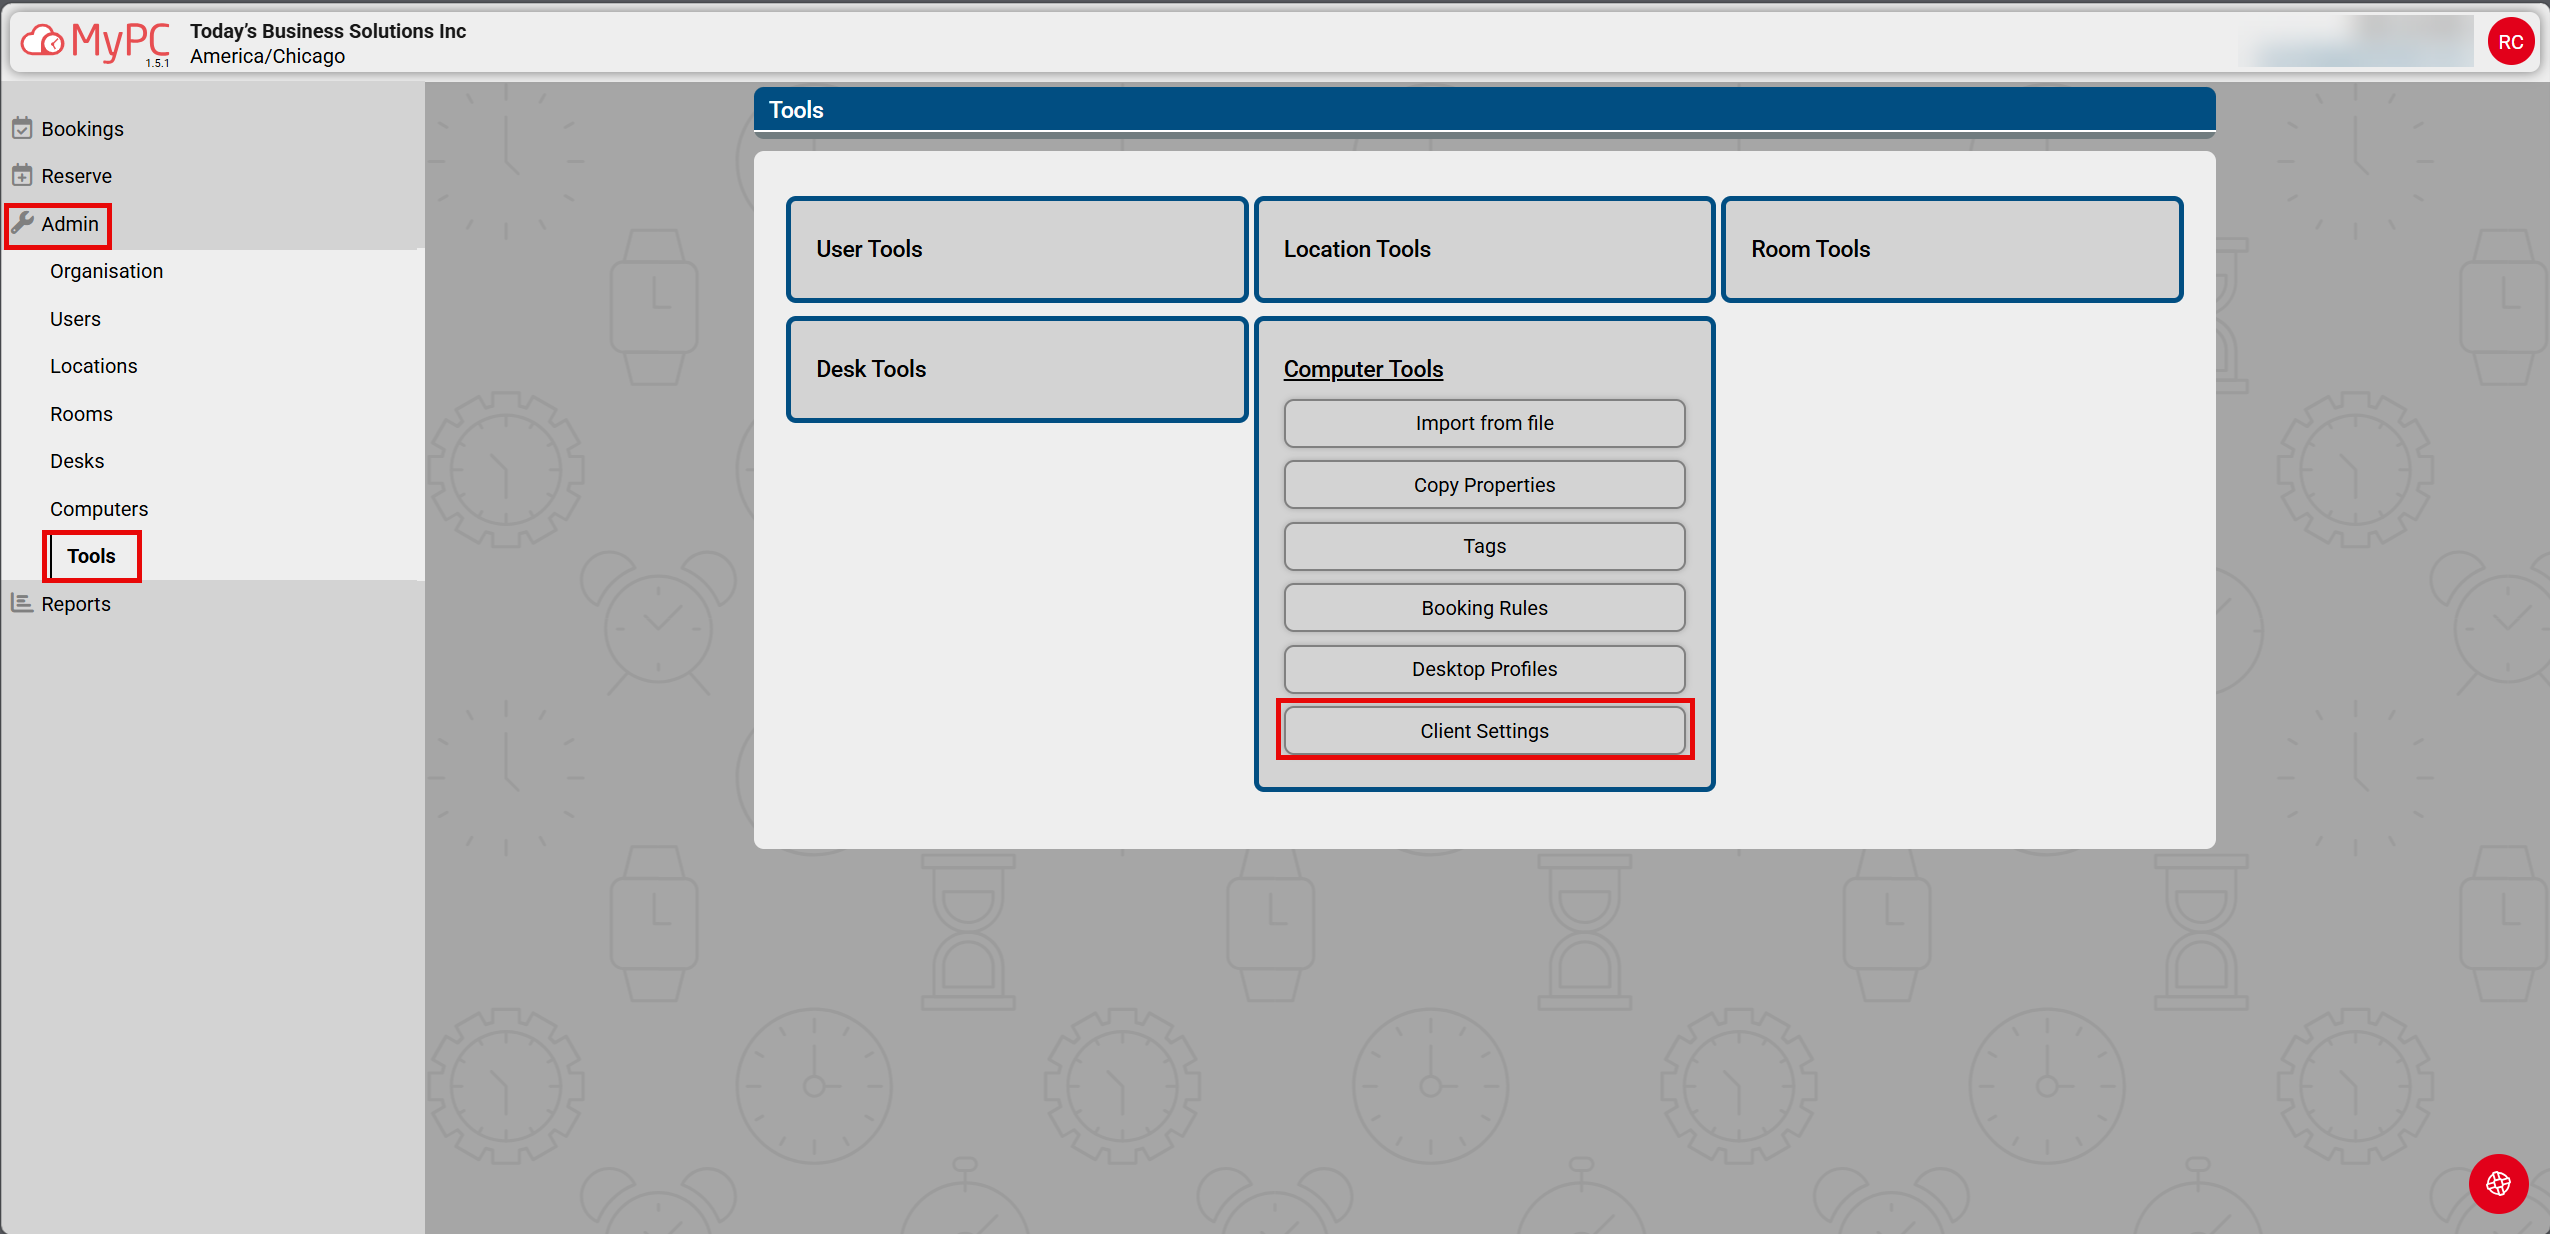
Navigate to Admin > Tools > Computer Tools.
-
Click on Client Settings.
Here, you’ll see a list of existing clients and an option to add a new one.
Add a New Client:
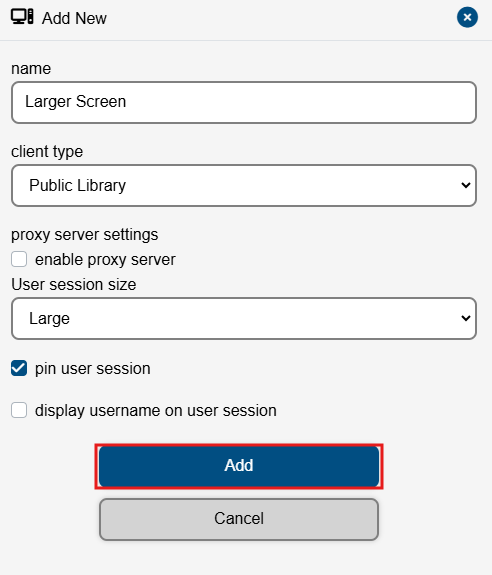
Select Add New.
-
Fill in the required information:
Name: Enter a name for your client.
Client Type: Choose Public Library or EntraID.
Proxy Server Settings: Enable if your network uses a proxy.
Session Size: Select Small, Medium, or Large depending on your needs.
Pin User Session: Toggle on if you want user sessions to be pinned.
Display Username: Choose whether to show the username in the session.
Click Add to save your new client.
Generate the MSI Package:
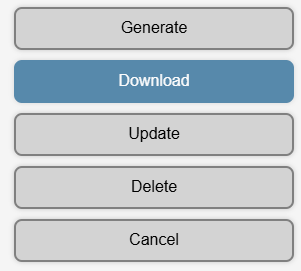
With your new client selected, click Generate to create the MSI installer package.
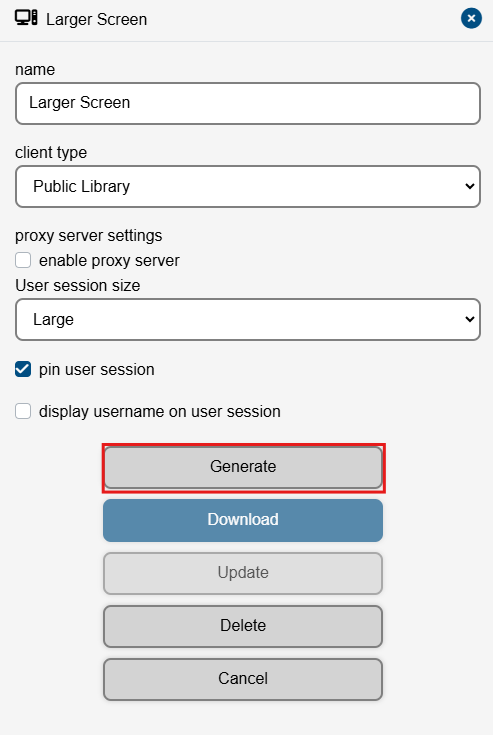
Give it about 30 seconds, then you’ll be able to download the MSI package for your client.
Step 2: Download and Deploy the MSI Package
-
Download the MSI:
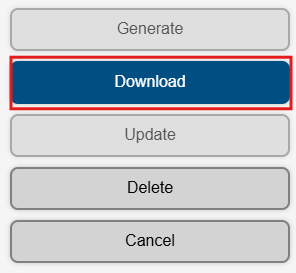
Once the package is ready, click Download to save the installer to your computer.
-
Deploy the Installer:
You can now distribute (or "push") the MSI package to all the computers where you want the MyPC Client installed. This can be done manually or using your organization’s software deployment tools.
-
Install .NET 8 (if needed):
If you haven’t already, make sure .NET 8.0 Desktop Runtime is installed on each target computer.
-
Run the MSI Installer:
On each computer, double-click the MSI file to start the installation.
-
Follow the on-screen prompts:
Click Next.
Accept the License Agreement.
Select the folder location (or use the default).
Click Install.
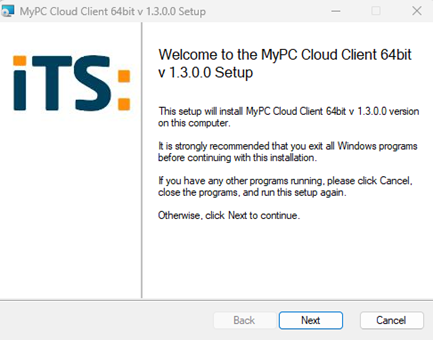
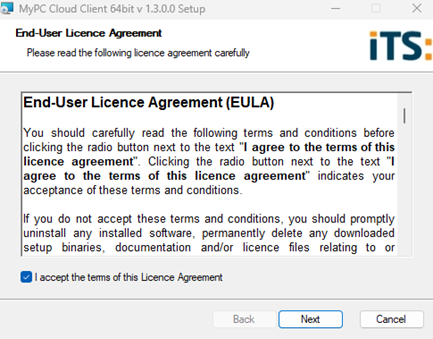
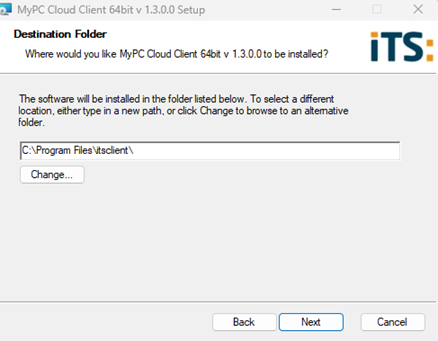
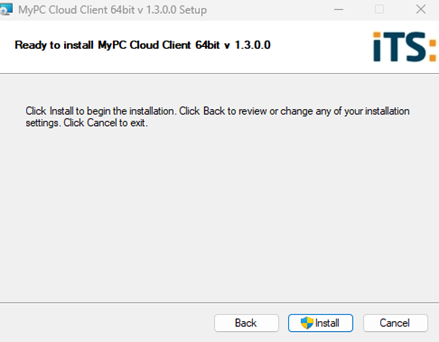
That’s it! The MyPC Client will now be installed and ready to use.
Updating or Making Changes to Your Client
If you ever need to update your client’s settings or make changes:
Go back to the MyPC Cloud Admin portal and edit your client’s settings as needed.
Generate a new MSI package.
Download and redeploy the updated MSI to your computers.
Important Note!
Creating the Computer in the MyPC Admin Portal MUST BE added for the client to connect or the client will show 'No Communication'. The client WILL NOT auto-create like the On-Prem Version. How to Add a Computer to MyPC Cloud
Additional Notes:
This article references the MyPC Cloud Helpsite: documentation for this installation:MyPC Cloud Client Guide - MyPC Cloud Help Centre
Need Help?
If you have questions or run into any issues, the MyPC Cloud Help Centre is always available, or you can reach out to us fro further assistance! To reference MyPC Cloud documentation for this installation: Click Here