Configuring Verifone Terminal Model MX915/MX925 for POS Client Software
Before you begin, you will need the following information below.
- Static IP Address for Verifone Terminal(s)
- Remote Access to POS Client Software (Will be installed on Staff Machine)
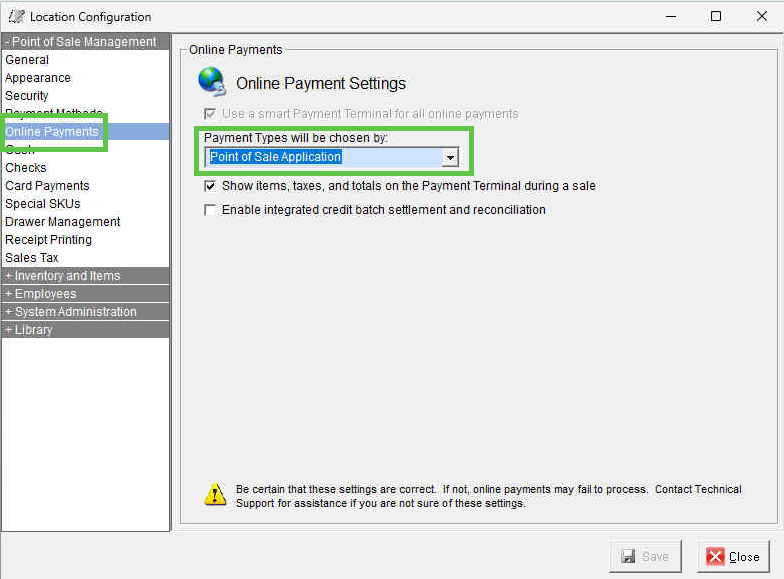
NOTE: Please make sure the Enterprise Manager or Location Manager has the following setting, otherwise the Verifone Terminal will not work correctly, and you will get an error message when you click on "Process".
Setting up Static IP Address on Verifone Terminal
1. After connecting the device's Ethernet cable to an Internet port, plug in the power cord from the device. After a brief startup (perhaps as long as 5 minutes), you may see our custom screen with your logo. That means the device is up and running. By default, the POS POINT device you received is configured for DHCP out of the box.
2. On the MX915/MX925 Verifone Terminal, press the keypad keys 1, 5 and 9 at the same time. This will bring you to the device setup mode. You will hear a beep and a message showing "APPLICATION HALTED." After a few seconds, you will see a screen appear, prompting you for a password.
"166832" or "166831"

3. After entering the password and pressing the "Enter" key on the keypad, you will see the navigation for "Home" menu show up.

4. Click on the "Administration" tab. The menu for Home > Administration will show up. Here, you click "Communication" tab.

5. The menu for Home > Admin > Communication will show up. Here, you click "Network" tab.

6. The menu for Home > Admin > Comm > Net > Ethernet shows up as follows. In this screen, you click on the "Ethernet" tab:

7. If you see the value in "Mode" appear as "DHCP," change it to "StaticIP." Then you need to provide the following information to set up the Static IP address. Keep in mind that as you enter the IP Addresses, you must enter 3 digits for each segment. That is to say, IP Address 10.3.4.130 will be entered as 010.003.004.130. As you enter the three digits of a segment, the cursor will be advanced to the next segment so you don't need to enter the period ".".
IP Address
Netmask
Gateway
DNS1
DNS2
8. After you change it, click on "Apply" to save it. Now you can go back to the "Home" menu and click on "Run Application" to start the device.

9. As you start up the application, you will see the Network IP address temporarily. Please confirm if that IP address is correct.
Configuring POS Client for Verifone Terminal
1.) Browse to MagnaPOS-L Folder (Normally located at "C:\Program Files (x86)\MagnaPOS-L")
2.) Open "POSConfig-L.exe"
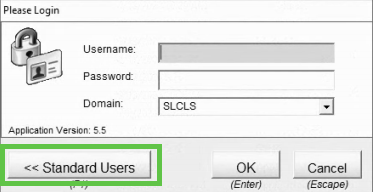
3.) Enter "admin" to login
NOTE: If customer is using AD accounts to login, click the "Standard Users" and then enter the account above