Configuring Verifone Terminal Model M400 for POS Client Software
Before you begin, you will need the following information below.
- Static IP Address for Verifone Terminal(s)
- Remote Access to POS Client Software (Will be installed on Staff Machine)
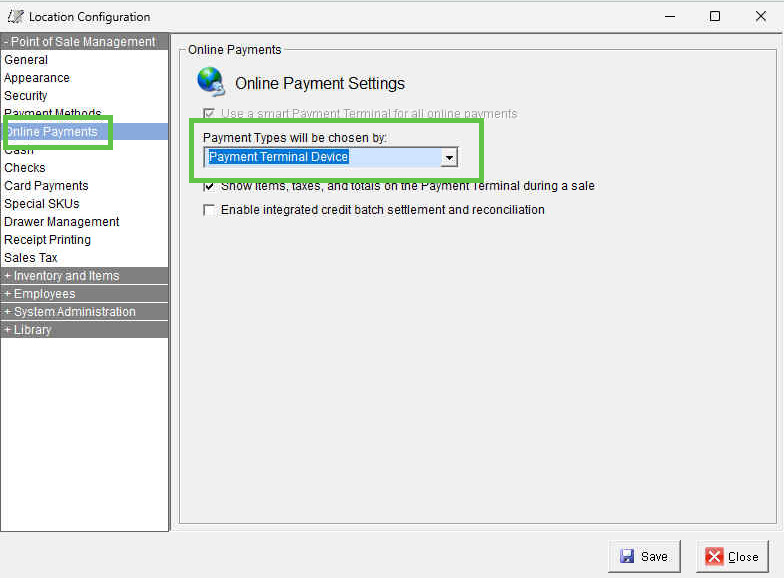
NOTE: Please make sure the Enterprise Manager or Location Manager has the following setting, otherwise the Verifone Terminal will not work correctly, and you will get an error message when you click on "Process".
Setting up Static IP Address on Verifone Terminal
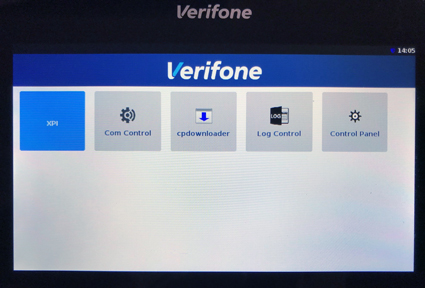
1.) Press the “1”, “5”, and “9” keys at the same time to open settings.
2.) Select “Control Panel”
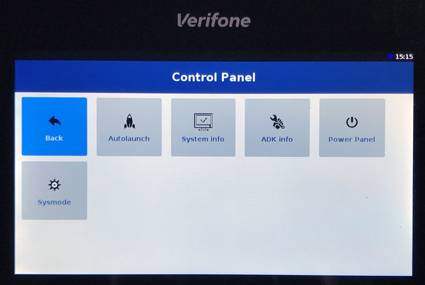
3.) Select “Sysmode”.
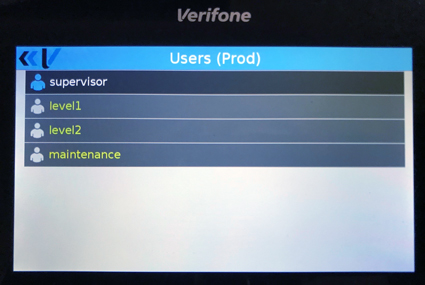
4.) Select “supervisor”.
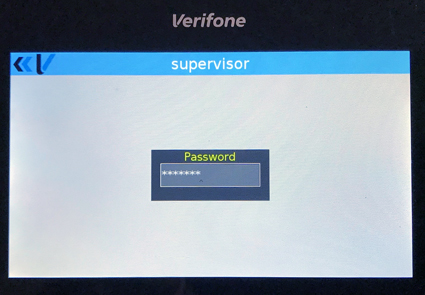
5.) Type the supervisor password and press the “Enter (green)” key. This password can vary.
“1111111”
OR“1166832”
OR“1668321” (NOTE: This PW is normally the one that works)
OR“1686321”
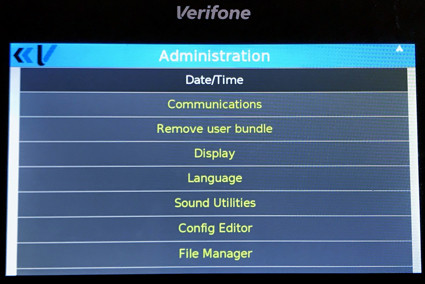
6.) Select “Administration”.
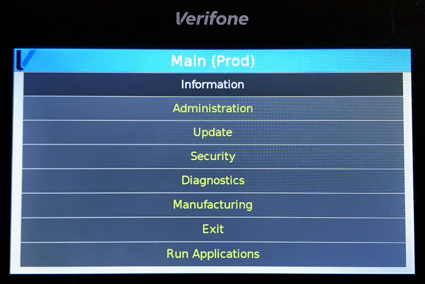
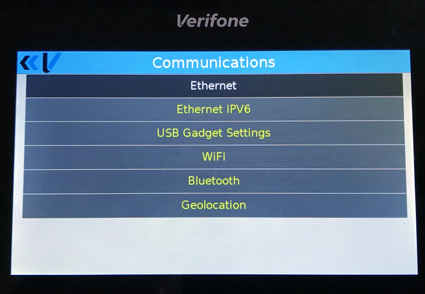
7.) Select “Communications”.
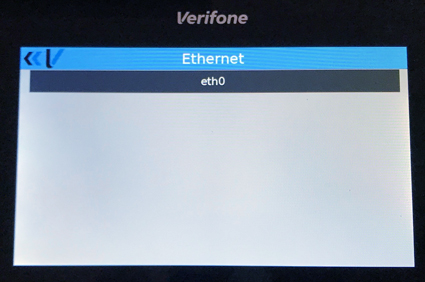
8.) Select “Ethernet”.
9.) Select “eth0″.
10.) Select “Mode” and select “Static”.
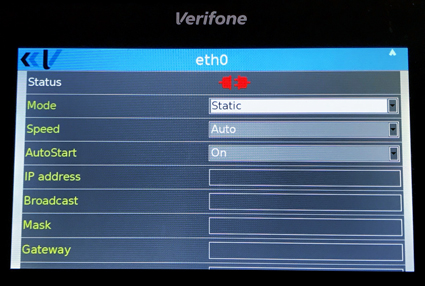
11.) Enter your static values for the following fields:
IP Address
Mask
Gateway
DNS1
DNS2

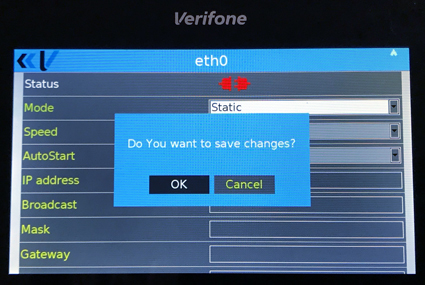
12.) Press the “Cancel (red)” key.
13.) If prompted “Do you want to save changes?” select “Ok”.
14.) If prompted “Configure another interface? Select “No”.
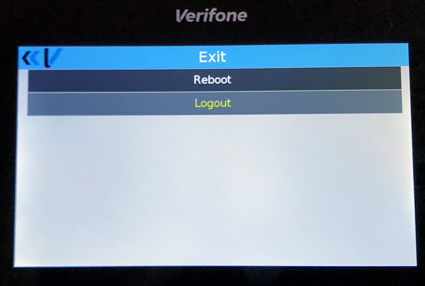
15.) Press the “Cancel (red)” key twice to reach the main menu.
16.) Select “Exit”.

17.) Select “Reboot”.
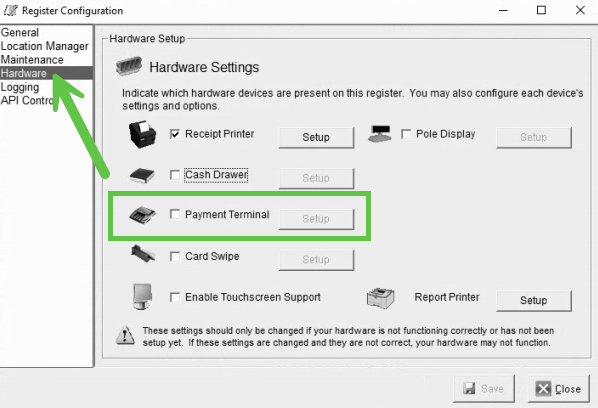
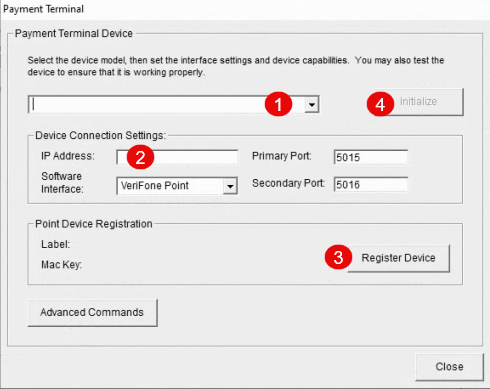
Configuring POS Client for Verifone Terminal
1.) Browse to MagnaPOS-L Folder (Normally located at "C:\Program Files (x86)\MagnaPOS-L")
2.) Open "POSConfig-L.exe"
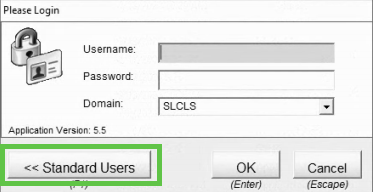
3.) Enter "admin" to login
NOTE: If customer is using AD accounts to login, click the "Standard Users" and then enter the account above