How to add inventory to a TBS 9900/Kiosk using Standard Payment Mode (3 methods)
Standard Payment Mode
When using our Standard Payment Mode in our kiosk or TBS9900 coin towers, you can Add money 3 ways: Inserting coins through the coin slot and saving inventory, inserting coins and programming inventory manually, or (if applicable) Insert coins into the removable High-Capacity coin-op tubes directly and re-seat tubes for auto inventory detection.
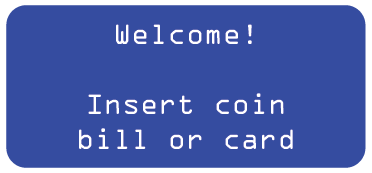
Before starting, confirm that the internal blue screen says: ‘Welcome! Insert Coin, bill, or card’ If your screen does not show this, you are either in the menu already and need to back out by hitting the BLACK button until you see this message, OR you are not using the Standard Payment Mode.
(Note: If you do not have a credit card reader, you will only see ‘Welcome! Insert coin or bill’)
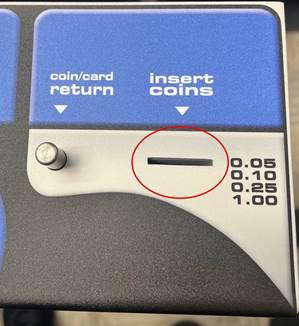
INSERT COINS THROUGH COIN SLOT
- Insert coins in any denomination into the coin slot at the top of the coin tower. Be careful NOT to hit the coin plunger during this, as it will return all change to you. It is recommended to SAVE (Step 3) every $10.00 to make sure this doesn’t matter by accident. (The maximum amount you can add at one time is $19.00)
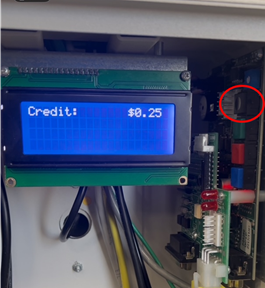
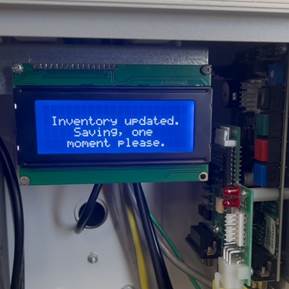
- Once coins are inserted, the internal blue screen should reflect the amount you entered. After all the coins have been inserted, find and press the black button on the main board next to the internal blue screen. The tabulated funds will then be saved as inventory.
INSERT COINS AND PROGRAM INVENTORY MANUALLY
- Insert coins directly into the Coin-Op tubes from the slot openings. You will need to keep track of how much you are inserting into the tubes so that you can program this afterward.
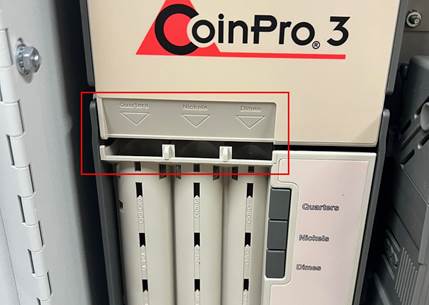
IMPORTANT: If you insert a coin into the wrong tube, you will need to remove the coin-op, so you can remove the coins by dumping them upside down.
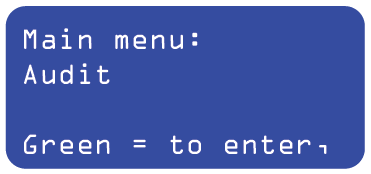
- Once all coins are inserted, you need to program each tube with manually with the value amount. To do this, you need to to the AUDIT menu by using the internal board buttons and internal blue screen. Click the Black button to enter the MENU, once you see ‘AUDIT’ (first option), Click Green to ENTER this menu. You will see Tubes showing here. To edit them,Click the Green button and then Use the Red and Blue buttons to edit the value and then click Green to SAVE and go to the next number. Repeat this process until you have adjusted all tube values as needed. To scroll through without changing any tube values, press the Black button.
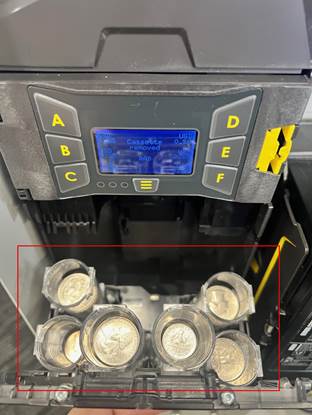
INSERT COINS INTO REMOVABLE HIGH-CAPACITY COIN TUBES DIRECTLY
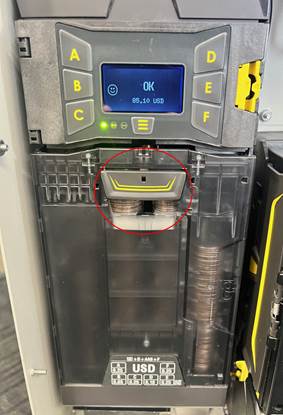
- When using the CPI/MEI High-Capacity Coin-op, you can manually insert coins into each tube manually by removing the tubes. Because these devices are considered ‘smart devices’, they will automatically detect how many coins are in each tube. (This is calculated by the weight of the tubes)
- If you are looking to add Bills into the bill recycler, this is done through the bill acceptor itself by holding down the MODE button on the back of the recycler. When the MODE switch is pressed and held for 2 seconds, the unit will stop displaying the bill count and will display the current mode. The text will flash. The first menu option is ‘Ld’ this is to LOAD the bills. Press the Select Button and you can now insert $1 bills into the front of the bill recycler as if you were paying. When doing so, you will notice the number on the little screen on the back of the bill recycler increment. Once done loading, hold SELECT button to save. To get back to the normal screen, hold down MODE until you are back to the main screen which should now display your inventory of $1s.
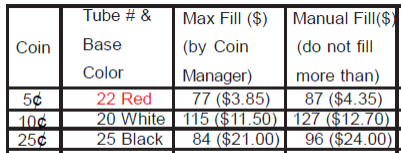
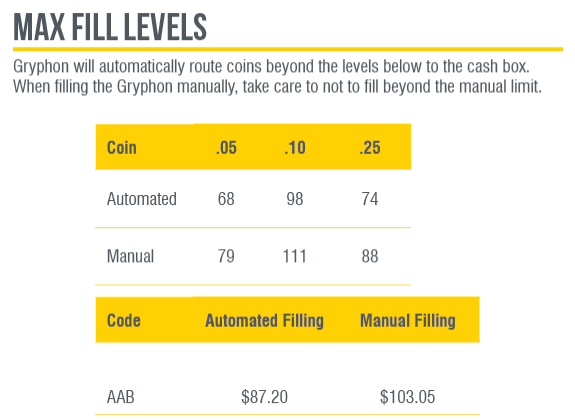
MAX FILL LEVELS
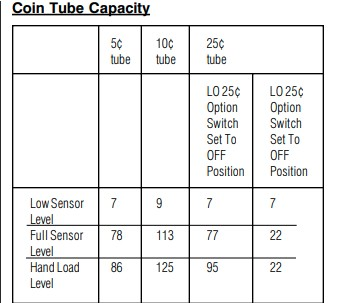
For CoinCo Standard Coin-op, the coin totals below reflect the number of coins it can hold.
For Gryphon High-Capacity Coin-op, the coin totals below reflect the number of coins it can hold.
For CF7000 High-Capacity Coin-op, the coin total below reflects the number of coins it can hold.